

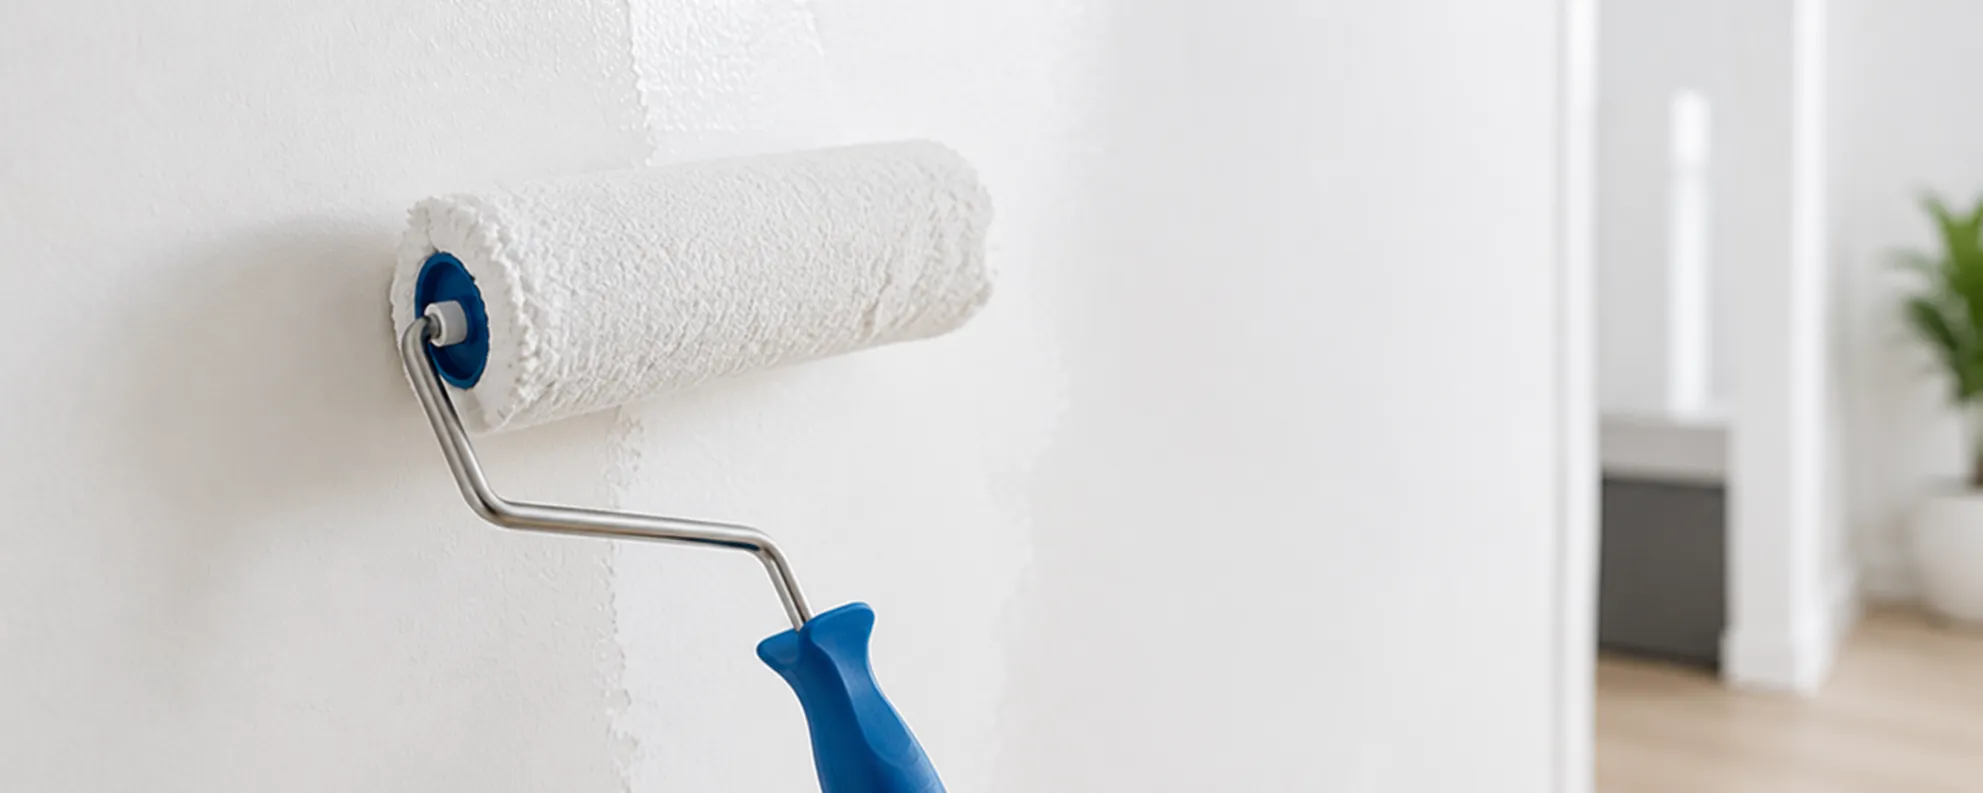
Interior paint is often described as a cosmetic update, but it changes much more than wall color. It affects how bright a room feels, how clean the architecture looks, how large or intimate a space appears, and how well surfaces tolerate daily contact. The final result depends on preparation, product selection, lighting, sheen, and application quality.
A successful painting project is therefore a sequence of decisions rather than a single color choice. This guide explains how to plan that sequence and avoid the defects that make freshly painted rooms look unfinished.
| Quick answer: Test colors in the actual room, select sheen by surface and use, repair and clean before painting, protect adjoining finishes, use compatible primers where needed, and evaluate coverage only after the paint has dried. |
Paint samples change throughout the day. Natural light, window direction, artificial bulbs, flooring, cabinets, furniture, and neighboring colors all influence perception. A neutral that looks warm in a store may appear gray, pink, green, or yellow at home because of its undertone.
Test larger sample areas on more than one wall. Observe them in morning, afternoon, and evening light. Place samples near trim, flooring, countertops, and fixed finishes that will remain. Small paper chips are useful for narrowing choices but rarely predict a full room accurately.
· Compare undertones with flooring, stone, tile, cabinets, and furniture.
· View samples beside both natural and artificial light sources.
· Test the actual product and sheen when possible.
· Remember that a color may appear stronger across four walls than on a small card.
· Consider how adjacent rooms connect through doorways.
Sheen changes appearance, washability, and how strongly surface defects are visible. Flatter finishes reduce glare and can help hide minor irregularities, while higher-sheen products generally offer greater scrub resistance but reflect more light and reveal imperfections.
| Surface or Room | Common Finish Direction | Planning Considerations |
| Ceilings | Flat or matte | Reduces glare and helps conceal minor surface variation. |
| Living rooms and bedrooms | Matte, eggshell, or low sheen | Balances appearance with moderate cleanability. |
| Hallways and family spaces | Eggshell or satin | Supports more frequent wiping in high-contact areas. |
| Kitchens and bathrooms | Washable product suited to humidity | Ventilation, preparation, and product specifications remain important. |
| Trim and doors | Satin, semi-gloss, or durable enamel | Higher durability and definition around architectural details. |
| Cabinets | Cabinet-rated coating system | Requires thorough cleaning, sanding or deglossing, primer compatibility, and controlled curing. |
Paint does not correct damaged surfaces. It often makes ridges, dents, poorly sanded patches, caulk gaps, and dust more visible. Professional-looking work begins with inspection, cleaning, repair, sanding, and priming where needed.
Grease, soap residue, smoke film, hand oils, and household cleaners can interfere with adhesion. Kitchen walls, doors, trim, and cabinets often require more cleaning than they appear to. Glossy surfaces may need deglossing or mechanical abrasion. Stains and repairs may require a specific primer rather than an extra coat of finish paint.
Furniture, floors, fixtures, hardware, outlets, and adjacent surfaces should be protected before work begins. Masking is not only about preventing drips; it also creates a clean working environment and reduces rushed corrections. Floors need appropriate coverings that stay in place without trapping moisture or damaging finishes.
Remove switch plates and hardware where practical instead of painting around them. Label doors and components when several are removed. Decide which caulk joints should be renewed and which moving joints should remain unpainted.
Primer is useful when the substrate is new, porous, stained, glossy, repaired, or changing dramatically in color. It can improve adhesion, uniformity, and stain blocking. However, one universal primer is not ideal for every surface. Drywall, wood, metal, cabinets, stains, and previously painted glossy finishes can need different products.
Paint-and-primer products may perform well on sound, previously coated walls, but the label does not eliminate surface-specific preparation. When adhesion or stain control is the issue, a dedicated primer may still be necessary.
A room often looks more finished when all painted elements are considered together. Fresh walls can make an aging ceiling look dull. Bright trim may emphasize worn doors. A coordinated plan can include ceilings, baseboards, crown molding, window trim, door frames, and selected interior doors.
The order typically moves from upper to lower surfaces and from broad areas to details, but the exact sequence depends on spraying, rolling, carpentry, flooring, and other renovation work. Paint should be scheduled so later trades do not damage completed surfaces.
Cabinets receive frequent hand contact, grease, cleaning, and impact. They need a more rigorous process than ordinary walls: hardware removal, labeling, degreasing, sanding or deglossing, repair, bonding primer, cabinet-rated coating, controlled application, and sufficient curing.
A finish may feel dry quickly but remain vulnerable while curing. Doors and drawers should not be reassembled or cleaned aggressively before the coating reaches adequate hardness. Wood grain, existing damage, and previous coatings also influence whether painting, staining, refinishing, or replacement is the best option.
Painting is often connected to flooring, cabinetry, trim, drywall repair, lighting, and other upgrades. Color should be selected with permanent finishes, and the schedule should protect new floors and cabinets. When trim is being replaced, completing carpentry and caulking before final coats creates cleaner lines.
Intra Flooring offers interior painting services in Kent, Seattle, and surrounding Washington service areas, including walls, ceilings, rooms, doors, trim, molding, baseboards, cabinets, refinishing, staining, glazing, and selected garage-floor painting projects.
1. Choosing color from a tiny chip without testing it in the room.
2. Painting over dust, grease, loose coating, or glossy surfaces.
3. Using the same sheen on every surface without considering use.
4. Expecting paint to hide poorly repaired drywall.
5. Removing masking too late or before the coating has set appropriately.
6. Applying a heavy coat instead of controlled, even coats.
7. Ignoring dry and cure times between coats and before cleaning.
8. Painting cabinets with ordinary wall paint.
Compare large samples in the room, review undertones with fixed finishes, and observe the color under natural and artificial light at different times.
Higher-sheen finishes are often more washable, but product quality and formulation matter. Choose a finish appropriate for the surface, expected contact, and desired appearance.
Not always. Primer is commonly needed for new or porous surfaces, repairs, stains, glossy coatings, adhesion concerns, and major color changes.
Different porosity, texture, sanding, or primer coverage can cause flashing. Repairs should be feathered, sanded, cleaned, and primed appropriately.
Yes, when the cabinet material and existing finish are suitable and the process includes thorough cleaning, preparation, compatible primer, durable coating, and adequate cure time.
Not always, but new wall color can reveal ceiling discoloration or unevenness. Evaluate both surfaces under the same lighting before deciding.
Interior painting succeeds when color, sheen, preparation, and application are treated as one system. Testing colors in context and repairing surfaces carefully prevents most disappointment. With a coordinated plan for walls, ceilings, trim, doors, and cabinets, paint can make a home feel cleaner, brighter, and more intentional without changing its layout.
Submit guest articles that reach decision-makers, influencers, and professionals. Yarabook offers a trusted platform for quality content, strong backlinks, and SEO-driven visibility. Pay. Publish. Promote.